Tuesday, January 31, 2012
Upcycled Hoodie in Action

Friday, January 27, 2012
A Kitchen Disaster
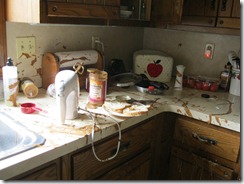 A little background: both my family and my parents buy organic peanut butter that requires stirring prior to consumption. My dad developed a method of stirring it that includes his drill. (He attaches the mixing blade to the drill.) My mom wanted to show him how much better it was to use the hand mixer and the single mixing blade.
 Tuesday, January 24, 2012
Winner of the HarmonyArt Giveaway!
The winner of the HarmonyArt Giveaway (of 1 yard of Apricot interlock fabric!) is #8!
True Random Number GeneratorMin: Max: Result:8Powered by RANDOM.ORG
Comment #8 belongs to Gwen, who said, I love the "let it grow" print! gingerbreadgal41 (at) gmail (dot) com
Gwen, I’ll email you for your contact information!
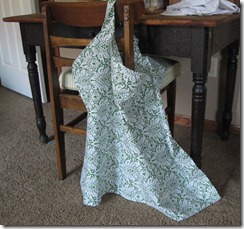
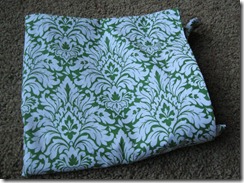
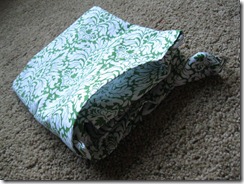
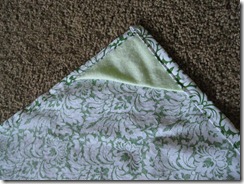
Nursing Cover for a Friend
Monday, January 23, 2012
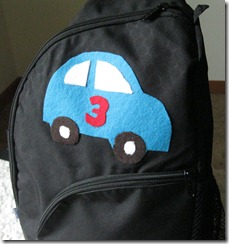
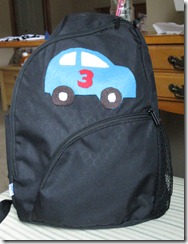
Car Appliqué on Backpack
When we had our little boy this summer, we were the recipients of two plain black backpacks containing free formula. We use one of them for our two-year old to carry his quiet activities to and from church each week. I thought it needed a little something special.
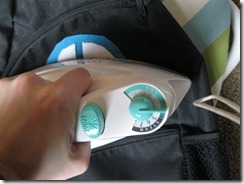
So I added a car appliqué. I used felt and heat and bond; here’s a brief tutorial on how to make your own iron-on appliqués.
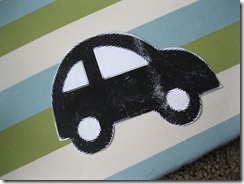
I used a car template I printed off of the internet.
First, I bonded all my felt to the heat and bond. Place the shiny side against the fabric and fuse it. 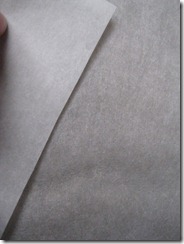
I cut the large car out of blue felt. I next cut out the windows and wheels to use as separate templates. 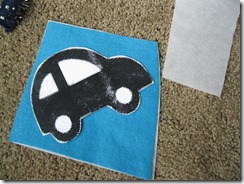
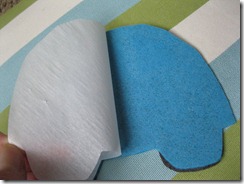
I peeled each piece of the heat and bond backing off and then I fused it to the blue felt. 
I did this for each piece. And then I added a “3” to the car. 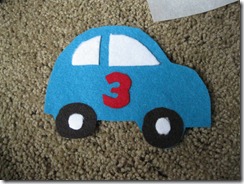
To finish it all off, I peeled the heat and bond backing off of the blue felt.
Friday, January 20, 2012
Around My House: Toddler's Room

Thursday, January 19, 2012
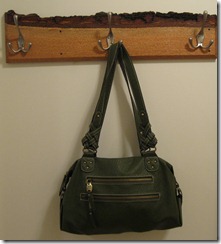
Rustic DIY Coat Rack
???
That answer was not quite what I had in mind at the time! However, as time passes, our home is slowly taking on this theme. This coat rack is an example of the “rusticness” creeping into our decor.
My husband took a rough cut piece of lumber from my dad’s shop and we put some English oil and shellac on it. I picked out some hooks from Lowe’s. For $9, we have a great looking solution for organizing purses, coats & hats in the mudroom.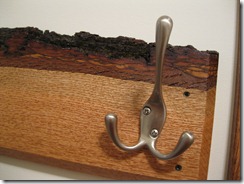
I love it. My husband is so clever. 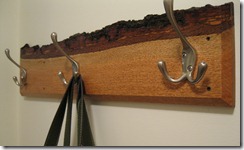
And after seven and a half years of marriage, he's got me sold on the rustic theme.
(Why are husbands even more attractive while holding a baby?)
Wednesday, January 18, 2012
Pottery Barn Kids Knock-Offs
My dad has talent when it comes to music and woodworking. I wanted to show off his woodworking skills today with some pictures of some toys he made for my boys at Christmas.
The inspiration came from these Pottery Barn Kids toys I saw in this picture:
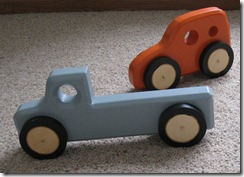
Using that picture for inspiration, my dad made a few extremely cute vehicles for my boys.
These two were the ‘prototypes’. 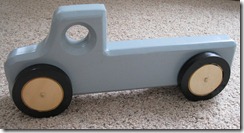

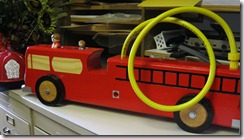
Then he deviated a bit from the PBK inspiration and made this enormous fire truck. My dear two-year old has a great interest in “Pirepighters” [firefighters].
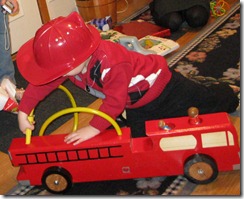 I was seriously impressed with my dad’s ability to make fun toys.
Tuesday, January 17, 2012
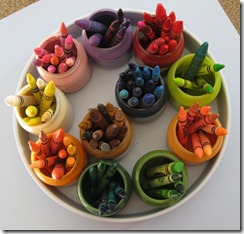
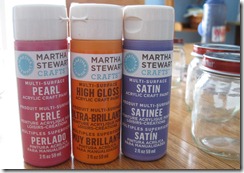
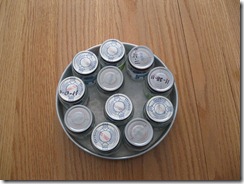
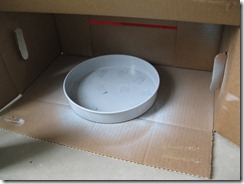
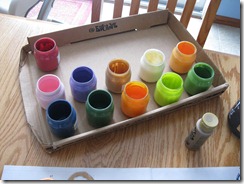
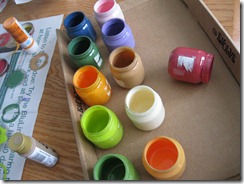
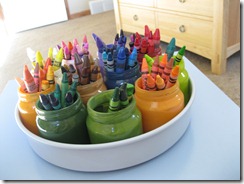
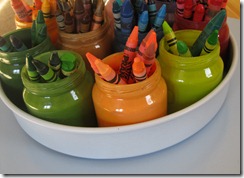
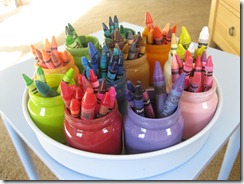
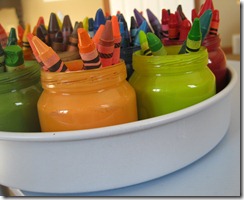
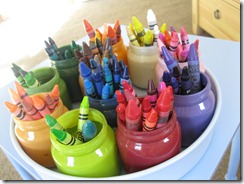
Crayon Organizer with PLAID Paints
Monday, January 16, 2012
A HarmonyArt Fabric Giveaway!
If you haven’t already heard of Harmony Art Organic Design Fabrics, go familiarize yourself NOW!
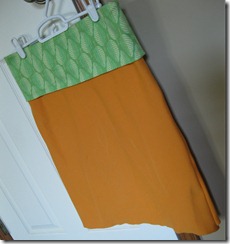
Harmony graciously sent me some beautiful organic knit yardage in her solstice print and apricot solid to test drive. I chose to use the fabulously popular flat front yoga skirt tutorial to make a cute little skirt. (I can’t wait for it to be warm and sunny!)
This fabric was so wonderfully easy to work with. It’s a great weight, soft, easy to cut and sew and the edges won’t roll up like a lot of knits.
I will be hoarding my scraps for future projects!
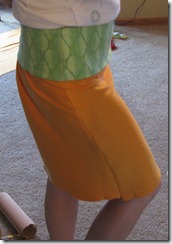
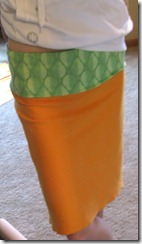 If you’re interested in starting to sew with knits, I think Harmony Arts is a great fabric line with which to learn. And the flat-front yoga skirt is a fun pattern to make! (It’s very comfy.)
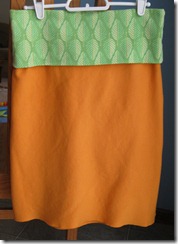
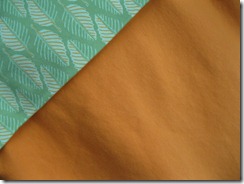
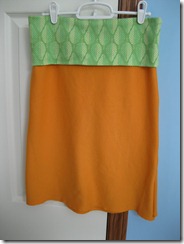
Now for the really good part. Harmony sent me an extra yard (it’s a little more than a yard, actually!) of the apricot color knit to give away to one of my readers! It’s a 60” wide piece, big enough to make yourself a skirt or two. (If you have girls, make a few matching skirts!)
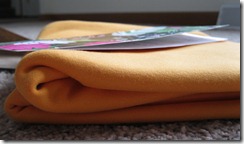
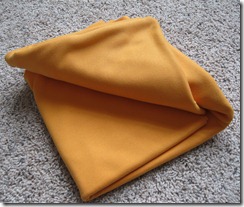 To enter to win this yard of apricot interlock fabric:
1. If you’re a follower of Monkey See, Monkey Do, go to HarmonyArt.com and comment about which is your favorite fabric!
2. For a second entry: go “Like” Money See, Monkey Do on Facebook! Then leave a comment telling me you did this!
3. For a third entry: go “Like” Harmony Art Organic Designs on Facebook! Leave another comment.
And if you don’t win and want to purchase some yardage, be sure to order from HarmonyArt retailers.
This giveaway will close on January 24th at 9 am! It is only open to US residents. Get your comments started.
Friday, January 13, 2012
A Cleaning Discovery
But I just had to share that I found the very best stuff to clean my cast iron sink with.
[really bad] picture of part of my kitchen in case you are wondering:


